Duotone Photo Technique

Duotone Photos

I’ve been showing you how to use PowerPoint to quickly create stencil and lace effects. Now, let’s look at creating duotone photos. In addition to making a photo look very modern, duotone is a useful technique for using less than stellar photos.

Cat in the Kitchen

While the cat might be photogenic, the background is not. I want to move from the photo above to the duotone below, which is suitable for adding a quote.

So true

The first step is to crop the picture as closely as possible.

Just the handsome face here – no clutter

But unfortunately, once enlarged you see the photo is a little blurry. This won’t be a problem going forward and it shows how this technique can cope with less than perfect photos.

Going to Picture Corrections:
Brightness was set to 65%
Contrast to 100%

Picture Color: Saturation was set to zero.
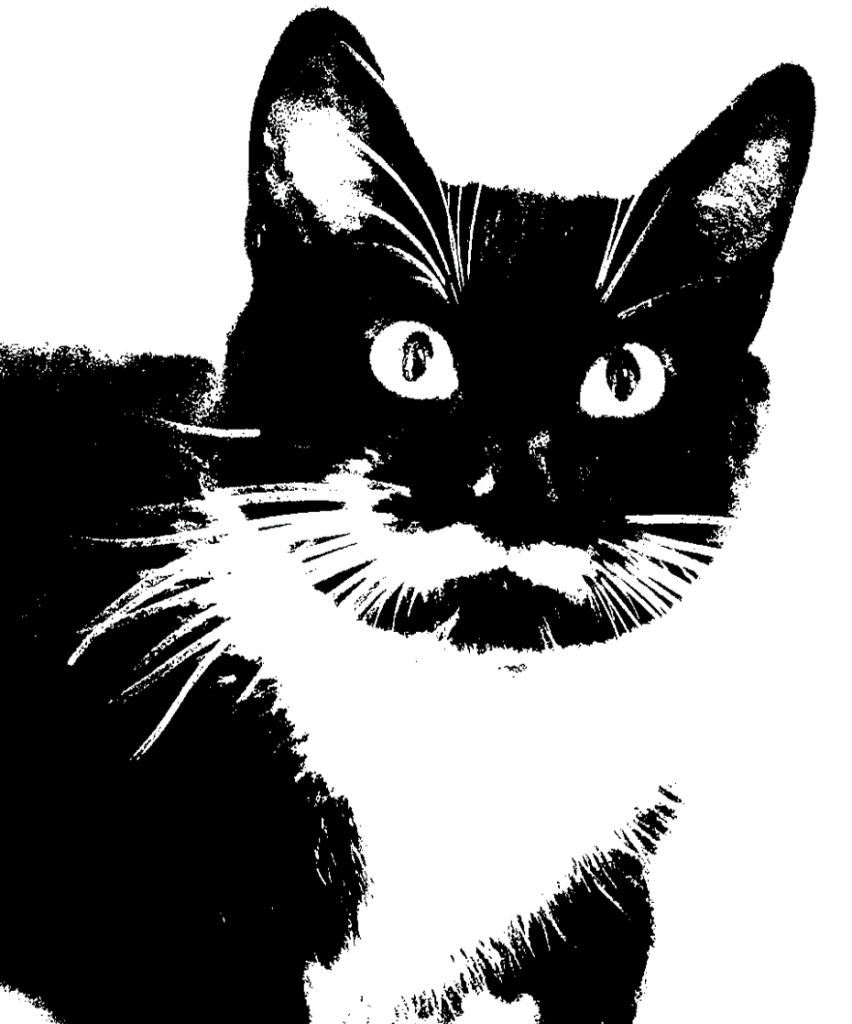
The Adjusted Photo

There is a bit of guesswork here, as I had to bring up Brightness enough to wash out the dark corner of the chair the cat is on, yet leave as much detail as possible. You’ll note that this brings out a lot of light spots on the pupils as well.

Why not just Recolor the picture to Black and White? In this case, I felt that recoloring removed too much detail from the photo. In the case of a different photo, recoloring might be the quickest and easiest method. I’d definitely try it first and see if I liked the results.

I’ve drawn a rectangle and filled it with a bright colour for contrast, this has been placed under the photo.

Now I can make the white portion of the photo transparent, by selecting Picture Tools>Format>Color>Set Transparent Color and clicking on a white portion of the picture.
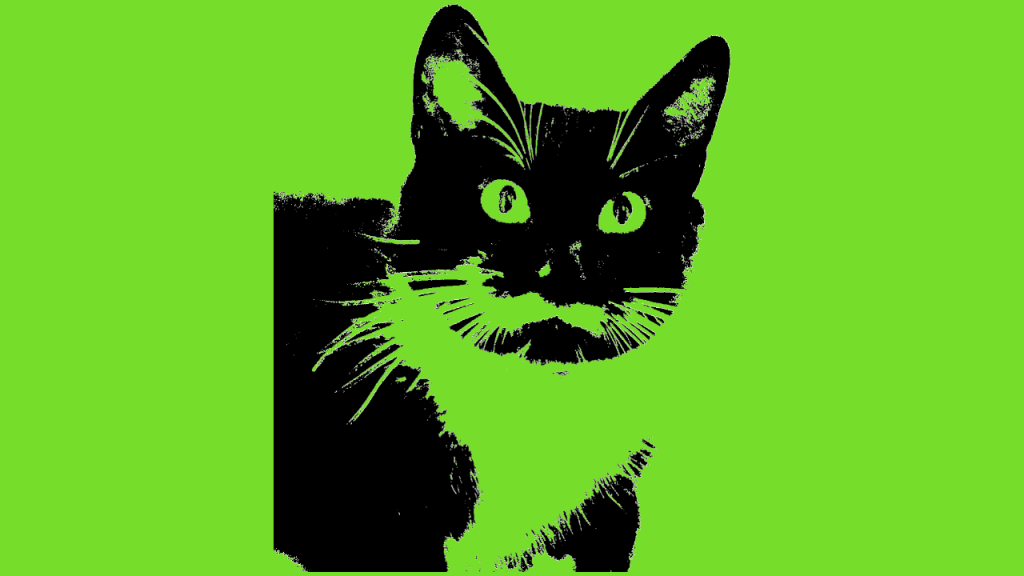
The black portion of the photo remains.

What’s also hard to see in the above picture is that the photo has a lot of small grey artifacts in the borders of the fur. This is exactly what we added in when making the lace picture earlier, but here it is unwanted. An additional step is required for this photo (again for some photos it might be unnecessary).

But before I do that – I’m going to use the Ink command and touch up the pupils to remove some of the glints. Ink is only available in Office 365.
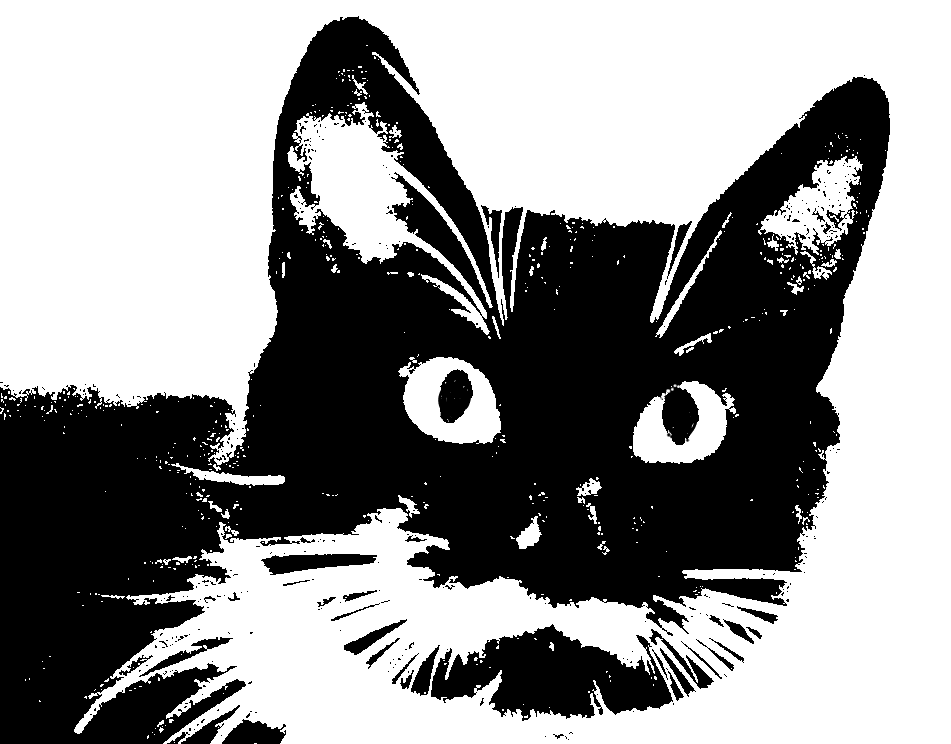
Showing Glint repair using ink tool.

After filling in the glints on the pupils, I grouped the ink layer with the photo. Then I copied and pasted the photo (and ink layer) as a picture. PowerPoint remembers all the photo editing done to a picture (which is why the Reset command works) and applies those steps cumulatively. I want to start fresh and apply the Recolor command to strip out the grey artifacts without losing a lot of detail. After recoloring the photo to 25% Black and White I set the White color to transparent

The same photo, but now with a crisper look

Again, I grouped the photo with bright background rectangle, pasted it as a picture and this time set the black portion as transparent. This is similar to the photo stencil.

Photo with transparent cat

In the final step, set a gradient fill in your chosen colour scheme to colour the duotone.
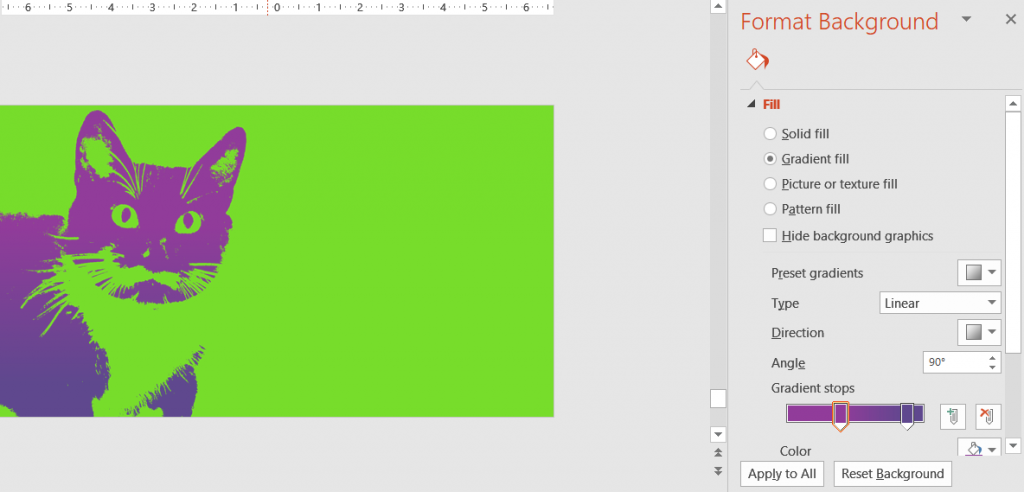
Setting the background of the slide to colour the duotone

The main elements of this technique are applicable to a number of photo effects. Try them out and see what you get!


This post is originally from 2018 If you want help with the newest and classic features in PowerPoint drop me a line at catharine@mytechgenie.ca

Making Powerful Image Quotes

For those of you who haven’t had one of my seminars on using PowerPoint to create powerful image quotes for your social media feed; now’s the time to get out into the garden with your camera phone and take a few photos.

Chrysanthemum

You need to create a stockpile of good background photos that you can use for fresh quotes. And summertime in your garden is a great time and place to do this.

Closeups of plants and flowers make a great background for a variety of quotes – like this one I found on the Olds Municipal Library Facebook feed.

A wonderful quote from Jo Walton.

You can see how they use a transparent overlay over part of the picture to help the text stand out.

You may not have an immediate need for those pictures, but you can set them aside for later use, like this image of purple pink chrysanthemums (my chrysanthemums are looking particularly lovely this year, due to the fact I’ve just bought them).

You know you’re in love when you can’t fall asleep because reality is finally better than your dreams.” ― Dr. Seuss The colour of these flowers, will do nicely for a different Valentines’ Day image quote.

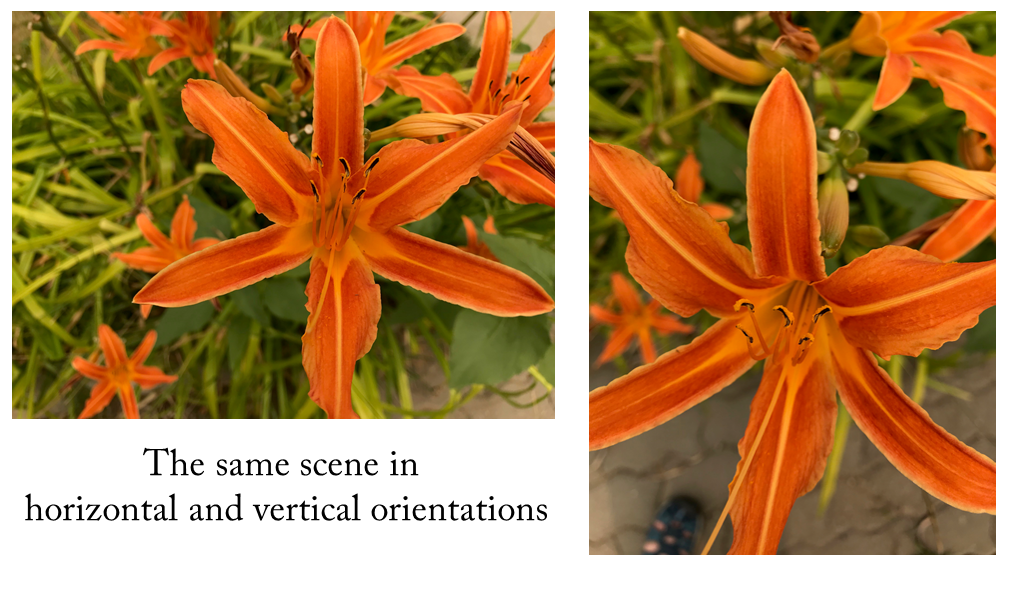
You don’t need a fancy camera to get these pictures, the camera on your phone will do just fine. But do make sure you take your pictures in both horizontal and vertical orientations to make sure you have more layout options later on.

When you don’t know how you’ll be using those photos, options are very good.

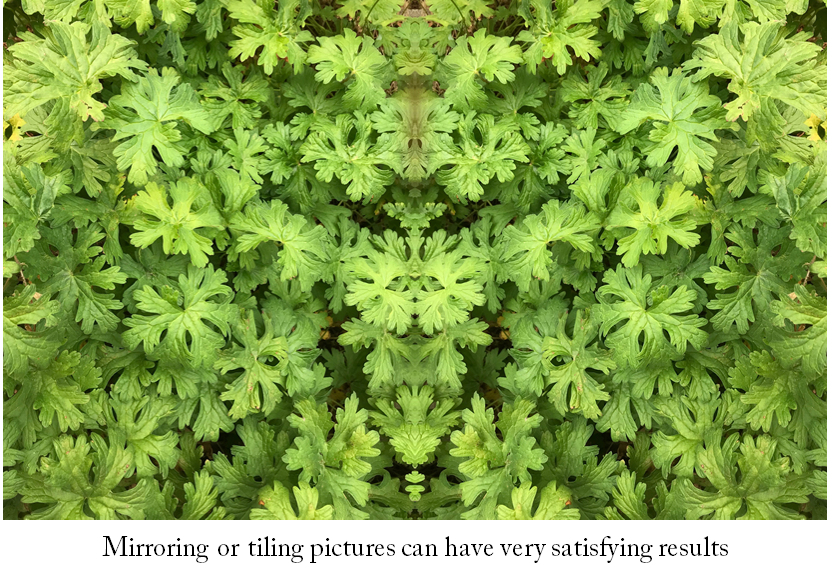
Don’t just focus on flowers (hehe, see what I did there), leaves and foliage are useful too.

Hey! I think I see a face in there!

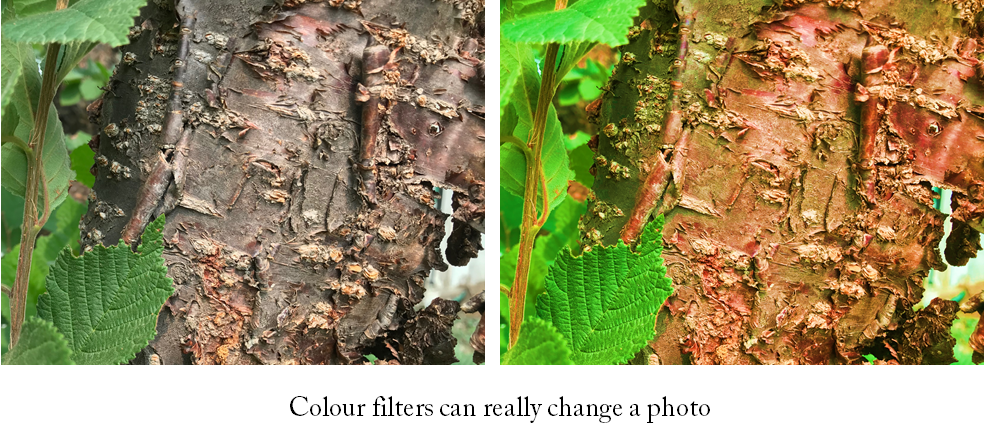
Don’t forget that the same picture can be used multiple ways, once you start throwing colour filters and special effects at it.

Left is original photo – the right has the saturation cranked up.

Oh, and that image has been flipped, since I like the leaves appearing on the left side of the photo better.

A final tip, when saving your image quotes, use the PNG format, it creates fewer artifacts (small jiggly lines that make text harder to read) than JPEG.


This post is originally from 2018.  If you want help with the newest and classic features in PowerPoint drop me a line at catharine@mytechgenie.ca

Making Lace Photos

Lace

In the last post, I showed how to turn a photo into a stencil. This time, we’ll be adding a lace effect to this photo.

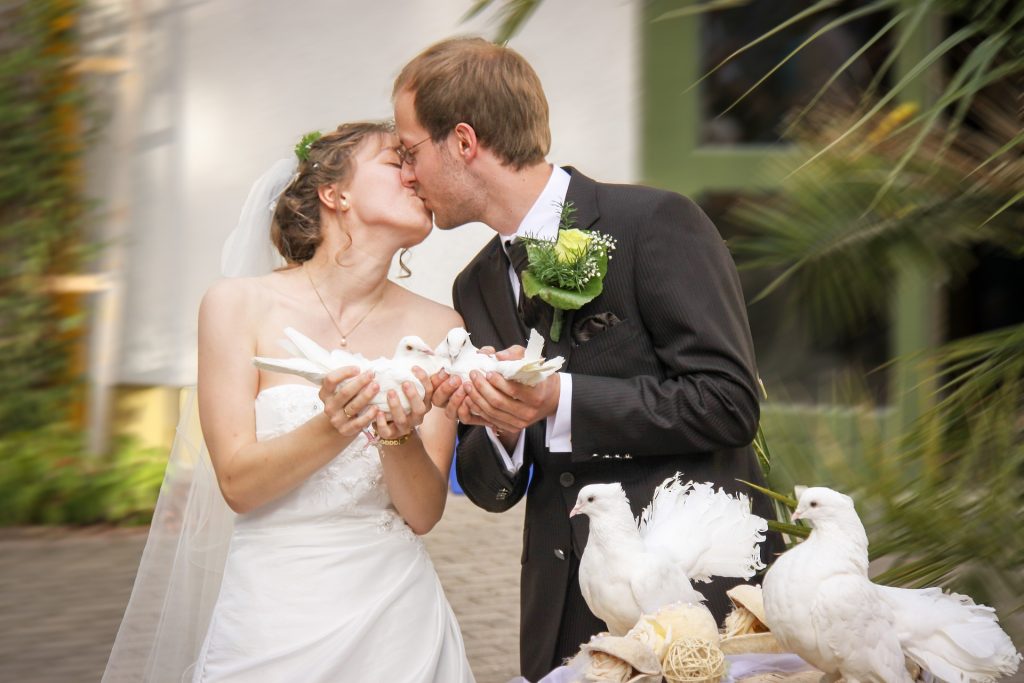
A Wedding Kiss photo
Wedding Kiss – Courtesy Pixabay and Peter Klaus

Using this photo:

Close up of a Chrysanthemum
Chrysanthemum from Windows 10 default photo set

After inserting the photo and changing the background colour, go to Picture Tools>Format>Picture Corrections. Set Sharpness to 100%. The picture may look worse at this point, but don’t worry.

The photo has had Sharpness applied to the maximum

Now, set Contrast to 100%. Yep, it definitely looks worse.

Photo with 100% Contrast applied

Select Picture Color and adjust Saturation to 0%

Photo with Saturation reduced to zero

Things are looking up again. Select Picture Tools>Format>Color>Set Transparent Color. Click on a black portion of the picture.

The photo with black portions removed

Now is the time for a little cropping and copying that will make the lace effect stand out.

Cropping and mirroring the photo, makes it look more “lace like”

And finally, layer the lace over the Wedding Kiss photo for the result.

The combined photo

This post is originally from 2018. If you want help with the newest and classic features in PowerPoint drop me a line at catharine@mytechgenie.ca
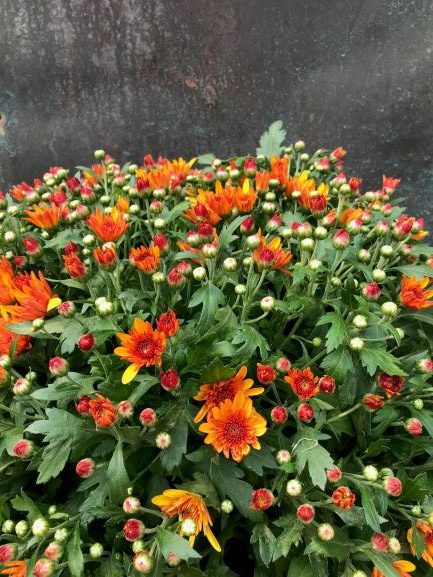
Photo Stencils

Windows 10 default penguin photo

Duotone photos are the current thing online and you can buy software or use a service to convert your photos into duotone photos. But did you know that you can easily create duotone photos in PowerPoint?

Along the way to this technique, I’ll show you how to make stencils and lace out of your photos as well.

Stencils

Windows 10 default penguin photo

I’m going to use this photo of penguins to make a stencil type image. I’m using Office 365, but this can be done in PowerPoint 2010 as well. I’ve also changed the background colour of my slides. This isn’t necessary, but will make the images easier to understand.

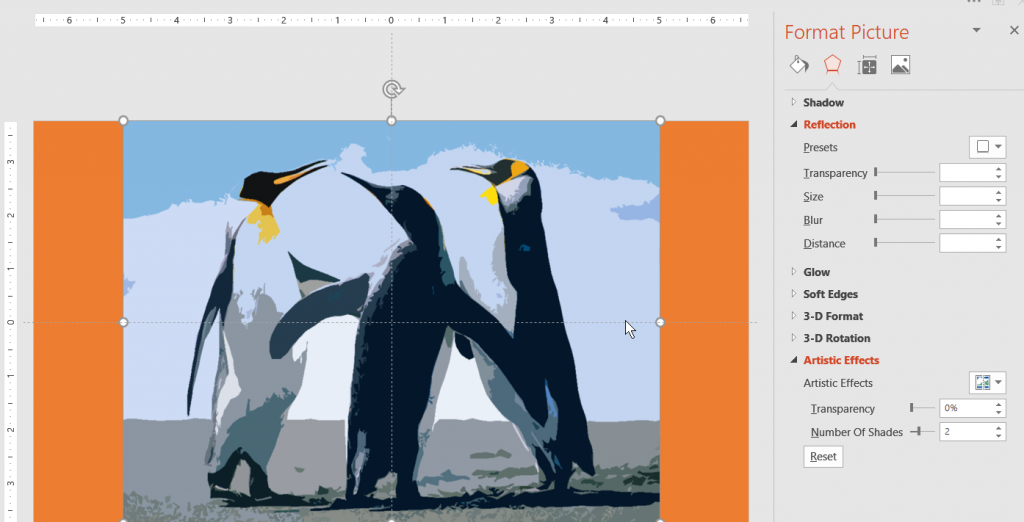
After inserting the photo and changing the background colour, go to Picture Tools>Format>Artistic Effects. You can use either the Photocopy effect or the Cutout effect. The main difference will be the amount of small detail retained by the photo. I like the Cutout option with this photo.

Picture of penguins with Cutout Effect applied
The first step in creating a stencil, applying the Cutout Effect


Reduce the number of shades to 1

The Cutout now has a the number of shades reduced to zero

Select Picture Corrections and adjust Contrast to 100%

The contrast on the picture is now 100%

Select Picture Color and adjust Saturation to 0%

Saturation on the picture is now set to zero, removing the small blue highlights that were visible before.

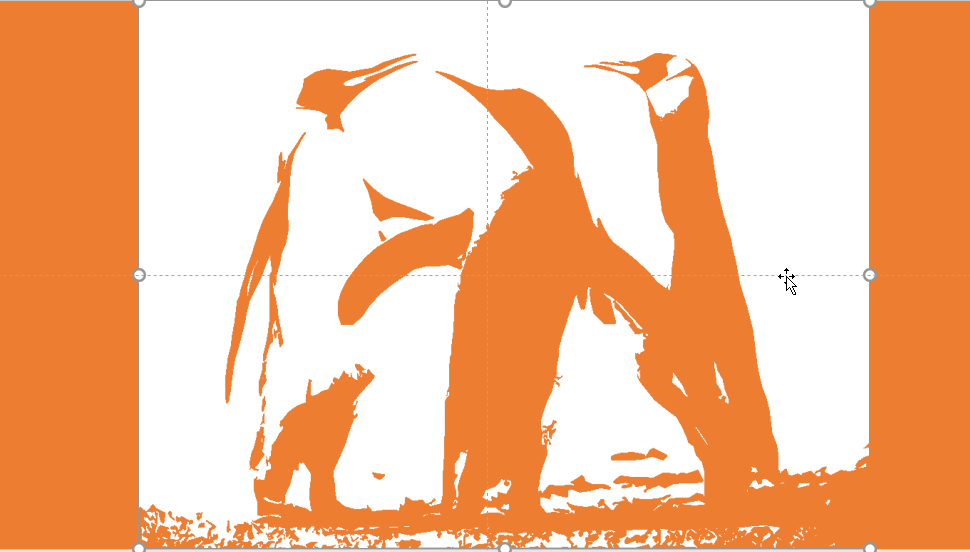
Even if you are on Office 365, you’ll need to use the Ribbon. The Set Transparent Color command is not on the Picture Color Tab. Select Picture Tools>Format>Color>Set Transparent Color. Click on a black portion of the picture. Voila! A stencil of Penguins that takes on the colour of the slide background.

After the black portions of the picture have been removed, the slide background is visible.

You can use a variation on this technique to make a “lace” overlay.


This post is originally from 2018 If you want help with the newest and classic features in PowerPoint drop me a line at catharine@mytechgenie.ca